Start here
What PostFX settings should you try first?
Start with Brightness 20, Clarity 0, Luma Sharpen 10, Adaptive Sharpen 20, Color Grading None and Colorblind Mode None on a normal SDR monitor. If your client still shows Saturation and Colorfulness, try Saturation 0 and Colorfulness 15–25. These are starting points, not a universal meta preset: your monitor, HDR mode, resolution and map lighting all change the result.
- Set color filters to neutral before tuning visibility.
- Raise Brightness gradually; high values wash out skies, fog, lamps and pale walls.
- Use Clarity and sharpening in moderation to avoid halos and noise.
- Keep a separate night profile instead of destroying your daytime settings.
- Test every profile in a bright outdoor scene and a dark interior.
- PostFX improves the rendered image; it does not reveal geometry or replace map knowledge.
What PostFX changes in Escape from Tarkov
PostFX is a post-processing layer applied after Escape from Tarkov renders the scene. It can adjust brightness, local contrast, edge definition and color treatment. That can make a silhouette near a shadow easier to read or reduce a soft-looking image, but it cannot create detail that was never present in the original frame.
A good profile keeps shadow detail and bright detail at the same time. If the image becomes brighter but the sky turns white, dark areas turn gray and branches gain glowing outlines, the setting is more aggressive, not necessarily more useful.
The same values look different on IPS, VA and OLED panels, and HDR can change the result again. Treat every community preset as a baseline and calibrate it to your own display.
- PostFX does not change damage, armor, recoil or hitboxes.
- PostFX cannot turn a night raid into daytime or remove all fog.
- Too much sharpening can make movement and fine detail harder to read.
- Monitor and driver settings can affect the image more than one extra point of brightness.
Where to enable PostFX and how to test it
Open the graphics settings and enable PostFX. Save your current values first so you can return to them. Change one setting at a time; changing brightness, sharpening and color grading together makes it impossible to tell what helped.
Use an offline raid for the first test. Pick a map you know and walk through the same short route: a bright outdoor area, a dark doorway, a lit interior and a distant target against foliage or a gray wall. Stop for a few seconds at each point and compare the detail.
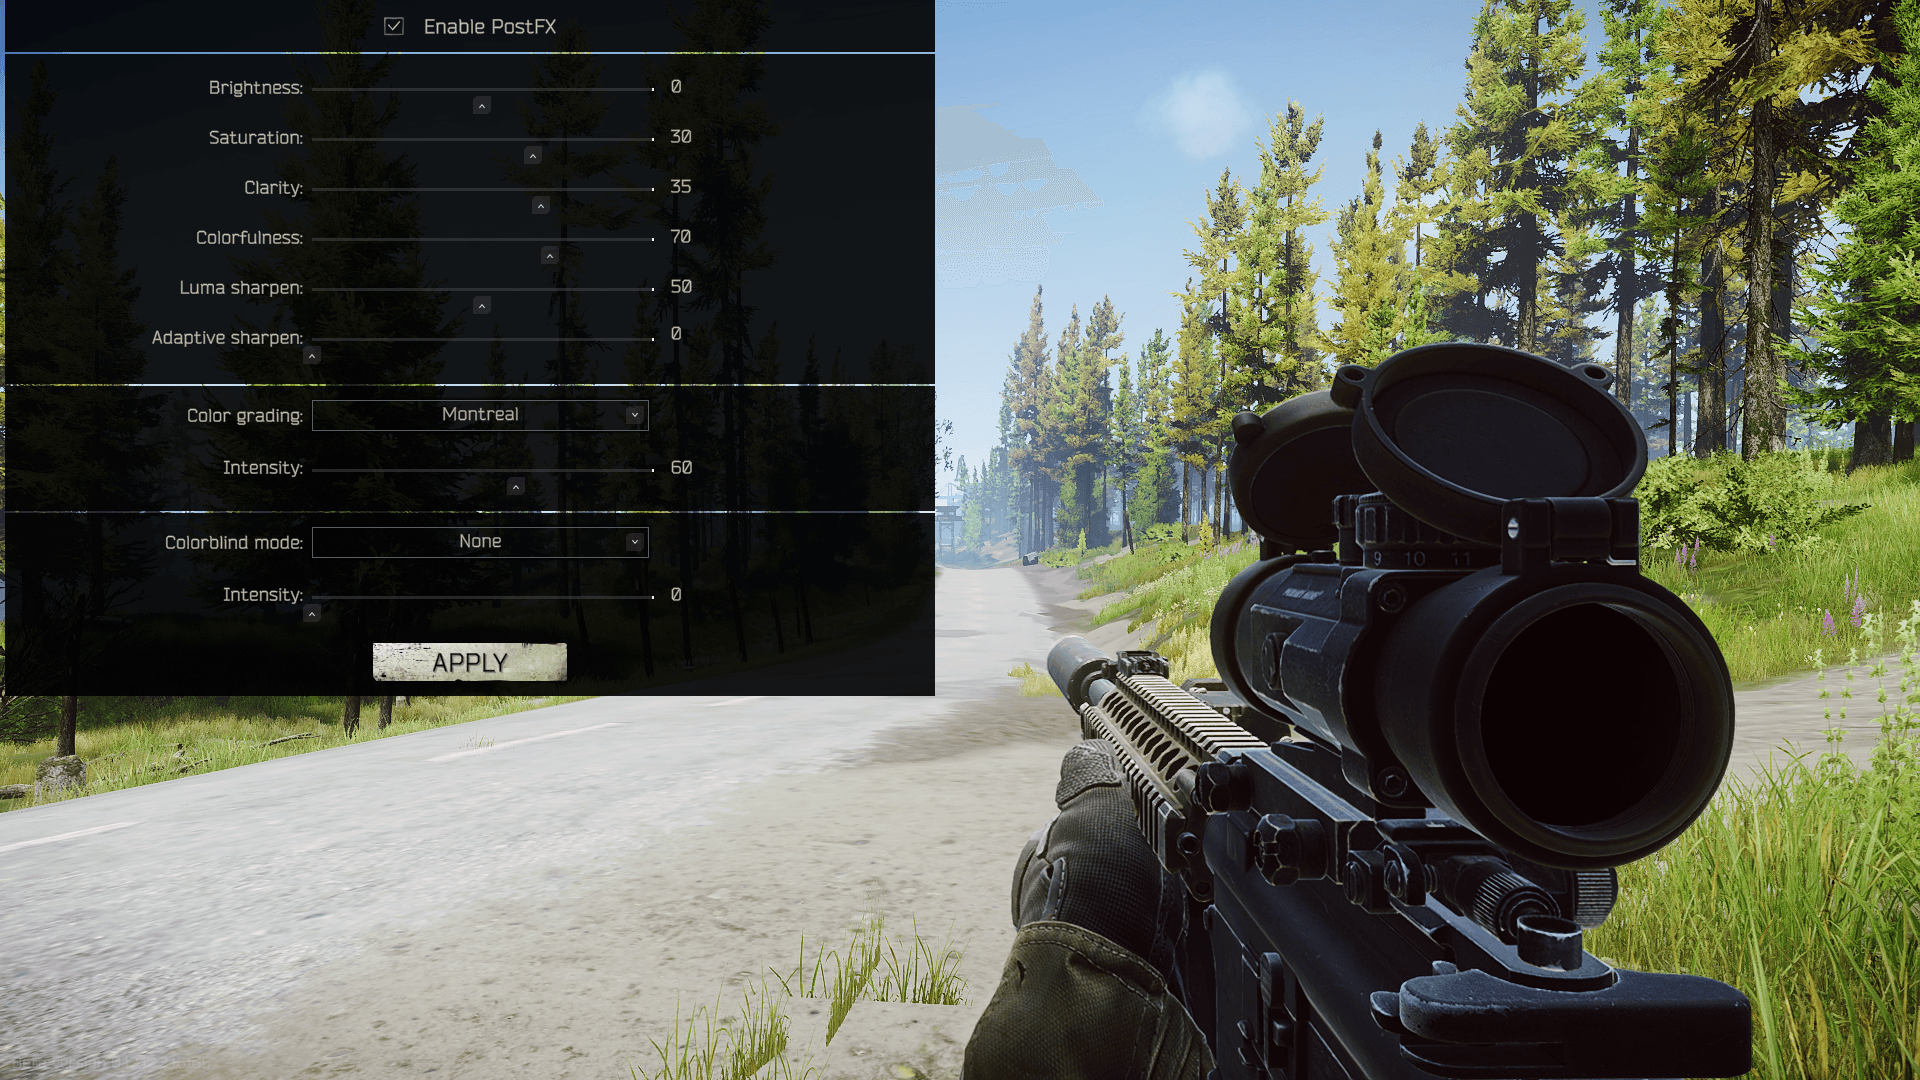
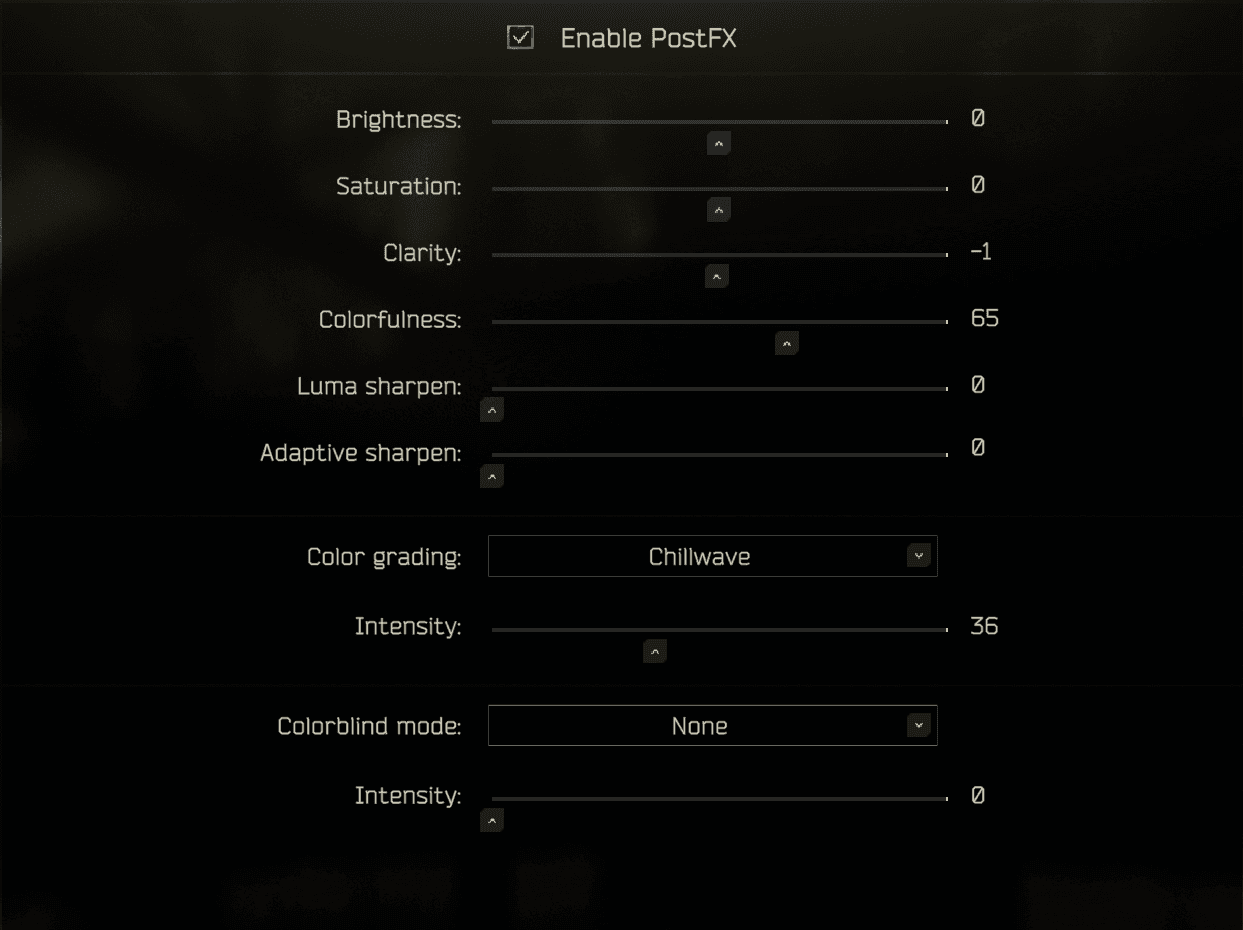
The screenshot below is useful for learning the layout of the menu, but it comes from an older interface. Parameter availability has changed between game versions. If Saturation and Colorfulness are missing in your client, do not hunt for them in configuration files; build the profile from the options that are actually available.
- Check at least one shadowed area and one bright outdoor area.
- Look at the edges of the screen, where halos and noise are easiest to spot.
- Test while moving; a still screenshot does not show shimmer or motion artifacts.
- Keep separate day and night profiles if you play both regularly.
What each PostFX option does
Each control has a useful range and a point where more becomes worse. Start from a neutral profile, change one slider and compare the same scene again.
- Brightness controls the overall brightness of the processed frame. It helps in dark interiors and at night, but excessive values clip skies, lamps, fog and pale walls.
- Clarity increases local contrast in midtones. It can define silhouettes and surfaces, but high values also emphasize grain, dirt and edge halos.
- Luma Sharpen increases edge definition through luminance. It can make a soft image clearer without aggressively changing color, but too much creates halos around wires, branches and reticles.
- Adaptive Sharpen reacts to detected edges. It can help a soft image, but high values may add shimmer and make compression artifacts more visible during movement.
- Color Grading applies a palette. It changes the mood and color balance, not the basic visibility problem. Start with None and add a filter only after brightness is balanced.
- Color Grading Intensity controls how strongly that palette is applied. Lower it if shadows become colored or grass and skin tones look unnatural.
- Colorblind Mode is a color-correction tool, not a universal visibility boost. Use it for your own color perception needs rather than copying somebody else's setting.
- Colorblind Intensity controls the strength of that correction. Test it with foliage, red objects and warm artificial lights.
- Saturation and Colorfulness may appear in older or version-dependent interfaces. If they are available, start low: Saturation 0 and Colorfulness 15–25. If they are absent, that is normal.
| Setting | What it changes | When to stop |
|---|---|---|
| Brightness | Overall frame brightness and shadow readability | Bright windows, skies and lamps become white patches. |
| Clarity | Local contrast in midtones | Shadows become dirty, grainy or halo-heavy. |
| Luma Sharpen | Luminance edge definition | Branches, wires and reticles gain bright outlines. |
| Adaptive Sharpen | Adaptive sharpening around detected edges | Foliage and fine details shimmer while moving. |
| Color Grading | The overall color palette | Shadows become tinted and grass or light looks unnatural. |
| Colorblind Mode | Color correction for individual perception | Familiar markers, blood or foliage become harder to read. |
Four practical PostFX profiles
These values are starting points for a normal SDR monitor. Apply them, then check a white wall, a dark doorway and a distant silhouette. Do not judge the profile from one still frame.
If an option is not present in your client, skip it. A neutral profile without color grading is more reliable than trying to replace a missing slider with a random filter.
- Balanced daytime: Brightness 20, Clarity 0, Luma Sharpen 10, Adaptive Sharpen 20, Color Grading None, Colorblind Mode None. If available, Saturation 0 and Colorfulness 20.
- Dark interiors and overcast weather: Brightness 35, Clarity 0, Luma Sharpen 10, Adaptive Sharpen 15, Color Grading None, Colorblind Mode None. Reduce Brightness if windows become white patches.
- Soft image or weaker monitor: Brightness 15, Clarity 5, Luma Sharpen 15, Adaptive Sharpen 25, Color Grading None, Colorblind Mode None. Stop if edges become bright outlines.
- Minimal processing: Brightness 10, Clarity 0, Luma Sharpen 0, Adaptive Sharpen 10, Color Grading None, Colorblind Mode None. Use it as a control profile.
- Night raid: Brightness 40, Clarity 0, Luma Sharpen 10, Adaptive Sharpen 10, Color Grading None, Colorblind Mode None. Raise brightness only until shadows become readable; do not try to make night look like day.
How to tune PostFX for day, night and different maps
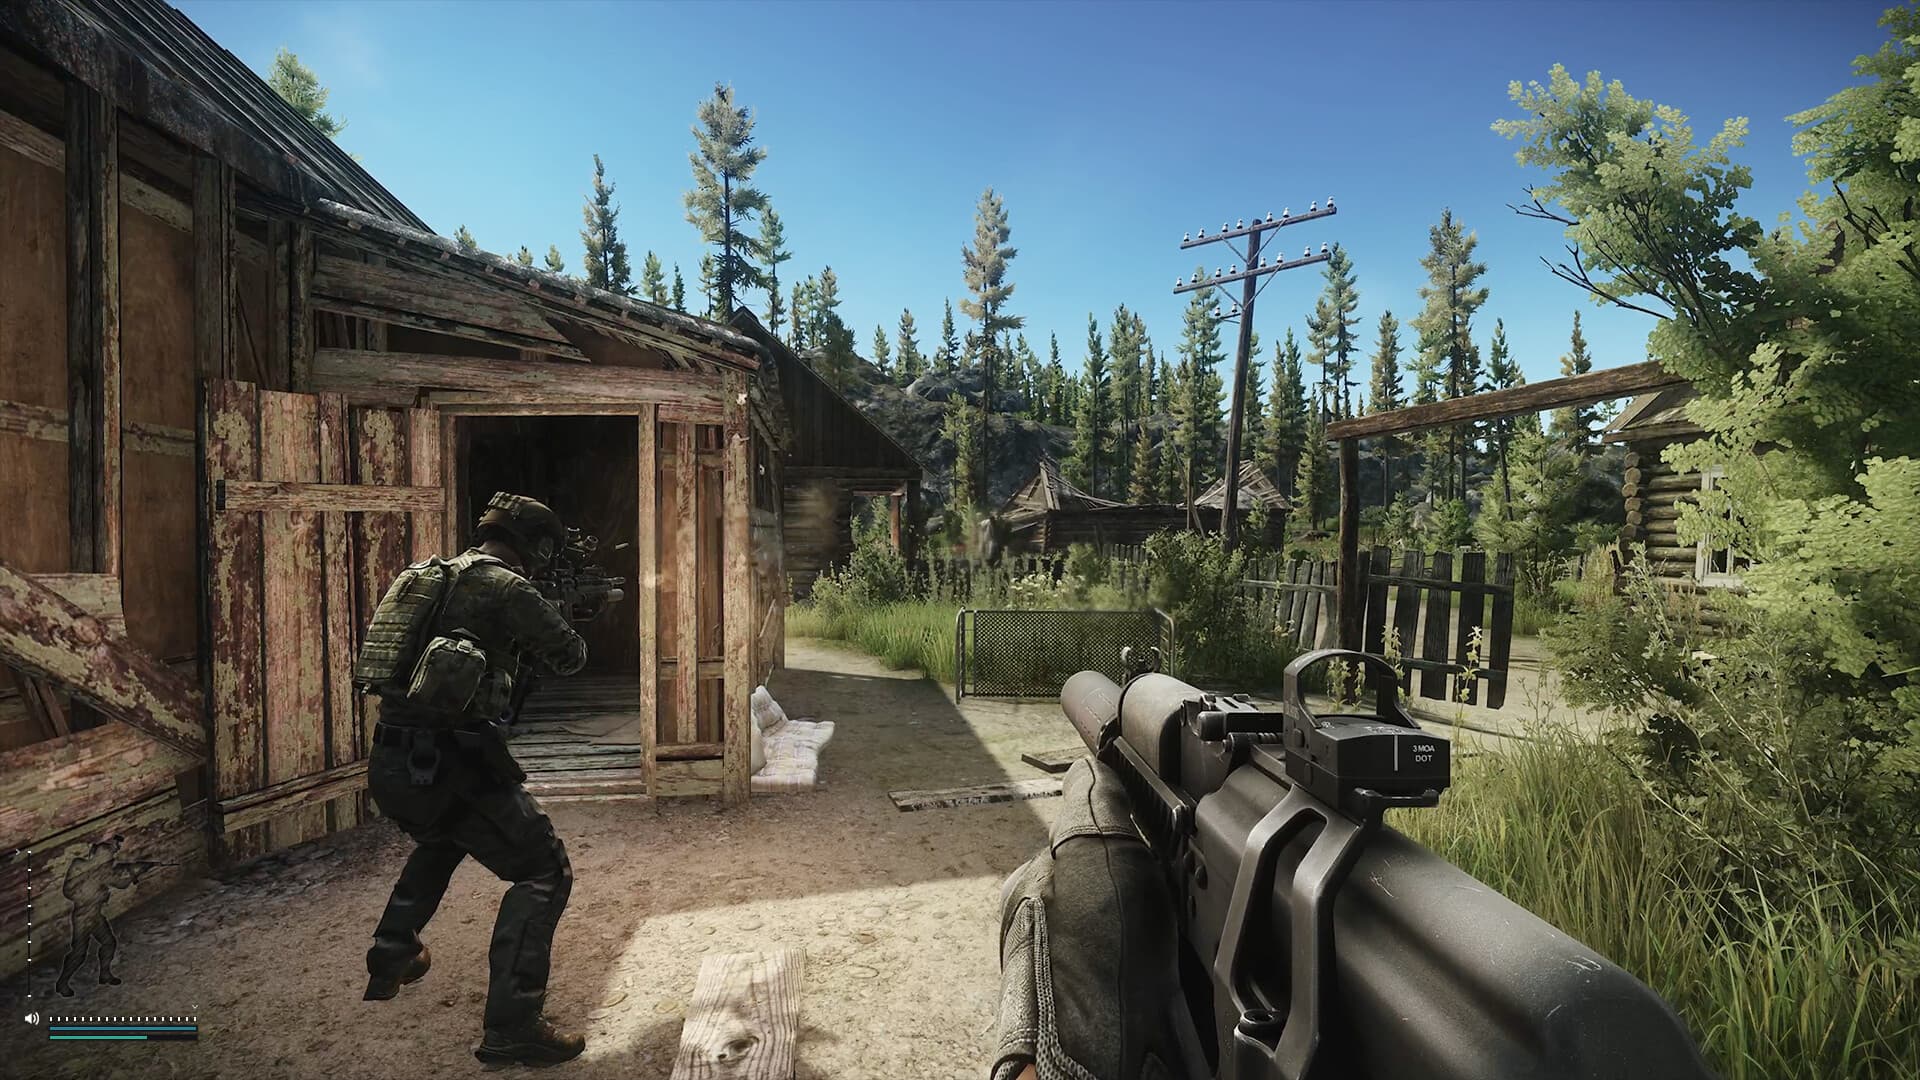
Open daytime locations usually suffer from clipping rather than darkness. Start with the balanced profile and make sure skies, pale walls and clouds still have texture. If distant objects look soft, increase one sharpening control at a time instead of maxing everything.
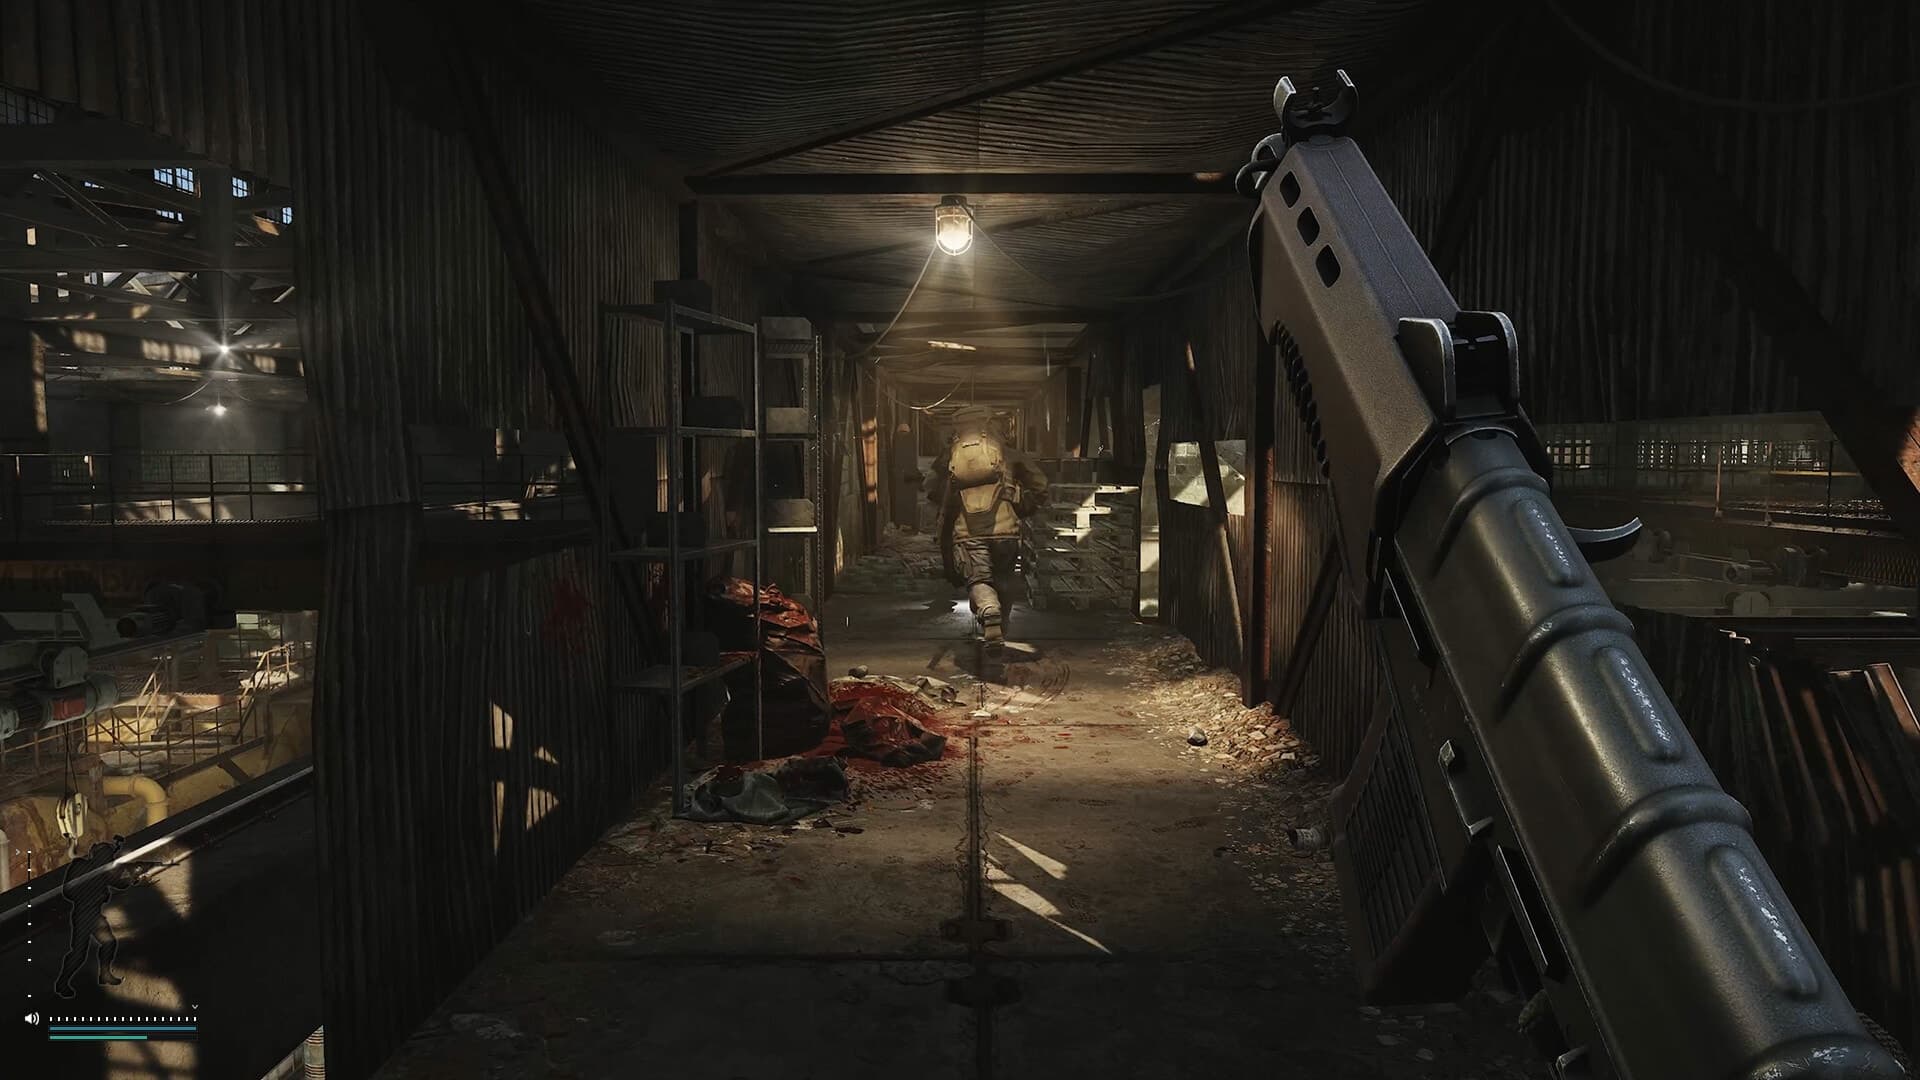
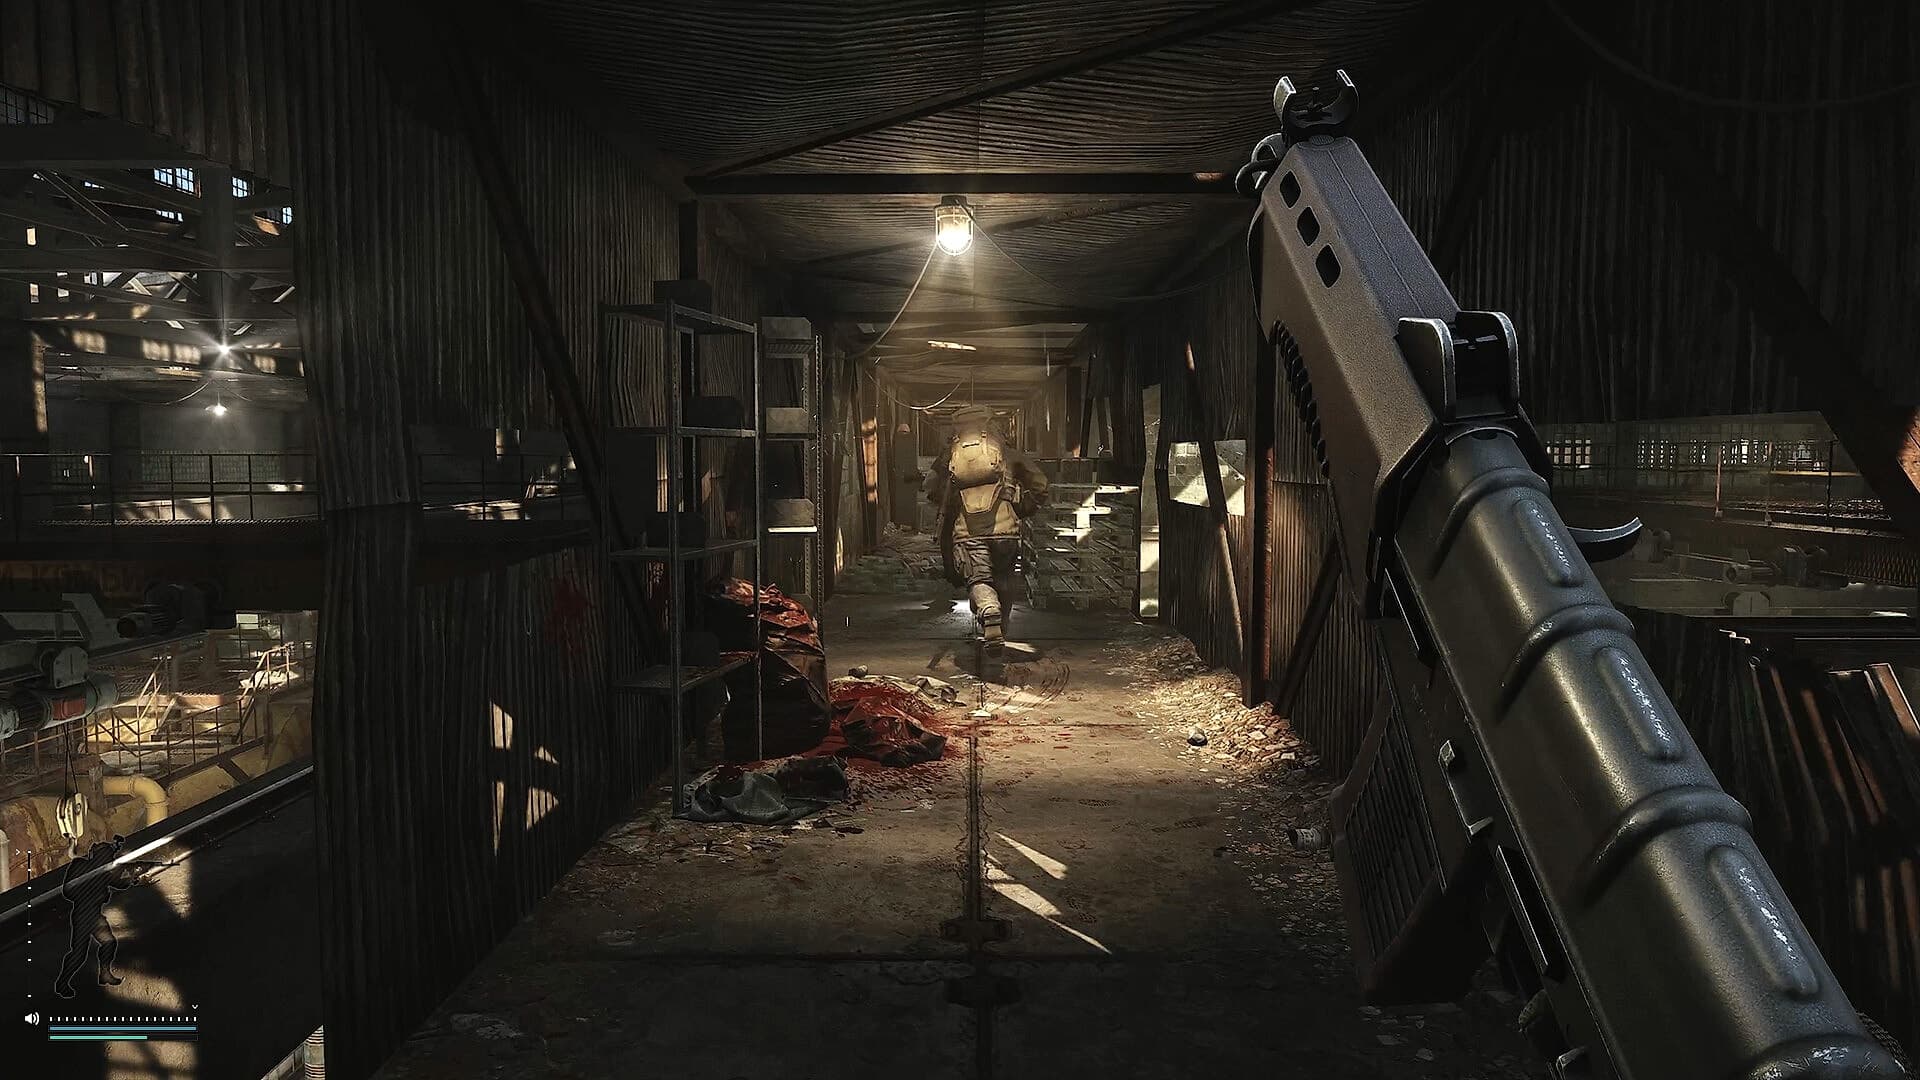
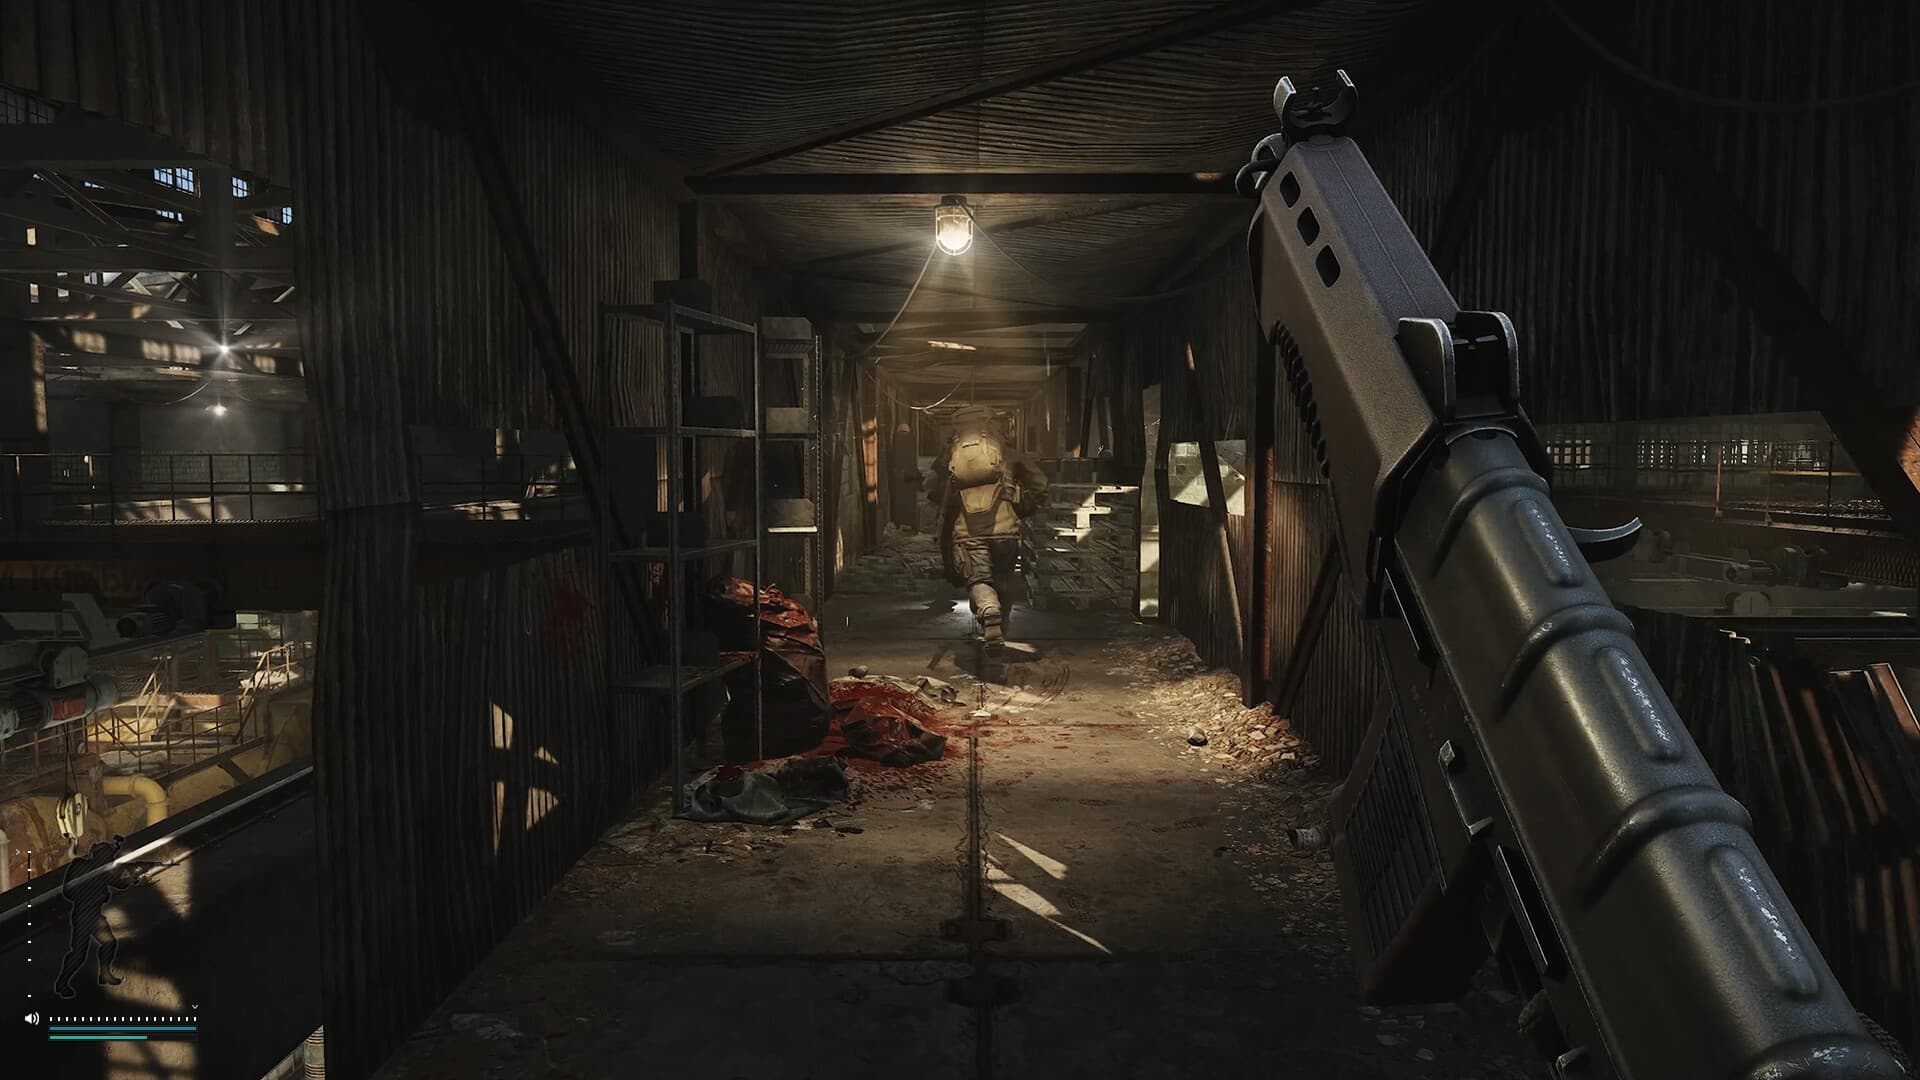
In dark interiors, brightness can reveal the general silhouette, but it cannot fix a bad angle or replace a light source. An over-bright image can also erase the contrast that tells you where the light is coming from. Moderate brightness and neutral colors are easier to read.
At night, it is easy to turn the scene into gray haze. Check whether you can distinguish surfaces rather than merely seeing a brighter screen. If you need Brightness above roughly 45–50, check gamma, HDR and the monitor before pushing PostFX further.
- Woods and open Customs areas: control clipping before increasing brightness.
- Interchange, Reserve and industrial interiors: compare doorways with nearby bright areas.
- Night raids: use a separate profile and check distant gray haze.
- Snow, fog and strong lamps need less brightness than a dry sunny scene.
Monitor, HDR and GPU considerations
The biggest difference between two 'best presets' is often the display, not the guide. Brightness 20 can preserve shadow detail on one monitor and turn black into gray on another. HDR, local dimming, the monitor profile and driver settings all affect the final image.
Start from a clean monitor baseline: disable an overly bright game mode, verify that HDR is configured correctly and choose a comfortable room brightness. Then tune PostFX. Otherwise you may use the game to compensate for a display that is already too bright or too cold.
Do not expect a guaranteed FPS gain from PostFX. The cost depends on resolution, GPU and the rest of the graphics pipeline. Compare the same scene with PostFX enabled and disabled instead of judging performance by feel after changing maps.
- Change one setting at a time and keep notes.
- Compare the same resolution, scaling and window mode.
- If shimmer, white outlines or noisy shadows appear, lower sharpening first.
- If the image turns gray, reduce Brightness and check HDR or gamma.
PostFX and raid navigation solve different problems
PostFX only changes how the rendered scene is processed. It does not tell you where the closest extract is, which location belongs to a quest or whether crossing an open area is worth the risk. Image tuning and route planning are separate tasks.
Before a raid, mark your route and extracts on a map, then use PostFX in the raid to read shadows, doorways and distant silhouettes more comfortably. LOVEC EFT Radar can add extracts, quest areas, loot and other PMC movement to the planning layer, while PostFX remains an image setting. One does not replace the other.
A practical workflow is simple: choose the raid objective, check extracts, load the right PostFX profile and then compare a bright and dark area after spawning. This keeps the process repeatable instead of turning every raid into random slider testing.
- Plan the route first, then tune the image for the raid.
- Do not use excessive brightness to compensate for not knowing the map.
- Separate day and night profiles are easier than rebuilding every slider.
A practical route
A ten-minute PostFX setup routine
Use this sequence to get a stable image without chasing dozens of conflicting community presets.
Reset color filters
Set Color Grading and Colorblind Mode to None with intensity at 0. Tune the base image before adding a style.
Choose neutral brightness
Start at Brightness 20. Check a dark doorway and a white wall. Keep the value if shadows are readable and bright areas are not clipped.
Add moderate sharpening
Try Luma Sharpen 10 and Adaptive Sharpen 20. Inspect branches, wires and reticles. Lower Adaptive first if halos appear.
Test while moving
Walk a short route in an offline raid. Menus do not reveal shimmer, noise and detail loss during camera movement.
Create a dark profile
Copy the daytime baseline and raise Brightness to roughly 35–40. Do not change color and sharpening at the same time.
Save two clear profiles
Name them Day and Night or keep the values in a note. Repeat the same test after a major patch.
Avoid these traps
Common PostFX mistakes
Most bad presets fail because they are not tested against a repeatable scene.
Copying values without checking the monitor
The same Brightness value can look different on every panel and HDR setup. Use community values as a starting point.
Maxing every slider
High brightness, clarity and color often create neon colors, white halos and gray shadows instead of useful detail.
Using color grading to fix darkness
Color grading changes hues; it does not solve a dark scene. Tune Brightness and basic sharpening first.
Testing only in the settings menu
The result must be checked while moving and at different distances. A menu cannot show foliage shimmer or silhouette clarity.
Treating PostFX as tactics
A filter does not show extracts, quest items or other players. It only makes the visible scene easier to read.
FAQ
What are the best PostFX settings for Tarkov?
Start with Brightness 20, Clarity 0, Luma Sharpen 10, Adaptive Sharpen 20, Color Grading None and Colorblind Mode None. Then test the result on your monitor and map; there is no universal preset.
How do I make Tarkov brighter in dark areas?
Raise Brightness gradually, starting around 30–35 for a separate dark-area profile. If windows and lamps become white patches, the value is already too high.
Which is better: Clarity, Luma Sharpen or Adaptive Sharpen?
They work differently. Clarity changes local contrast, Luma Sharpen emphasizes luminance edges and Adaptive Sharpen reacts to detected contours. Use all three conservatively instead of maxing them together.
Should I use Colorblind Mode for better visibility?
Not automatically. It is a color-correction tool, not a universal visibility mode. It may help one player and make familiar colors harder to read for another.
Why are Saturation and Colorfulness missing in my Tarkov?
The available controls have changed between game versions, so old screenshots may show sliders that are no longer present. Use the controls available in your client.
What PostFX settings are best for night raids?
Create a separate profile with Brightness around 35–40, moderate sharpening and no color grading. Raise brightness only until shadows become readable without turning lights into haze.
Does PostFX affect FPS?
The impact depends on resolution, GPU and the rest of the graphics settings. Do not expect a guaranteed performance gain; compare the same scene with PostFX enabled and disabled.
Can I use one PostFX profile on every map?
You can, but separate day and night profiles are usually easier. Sunny exteriors, dark interiors, fog and snow need different brightness levels.
Can EFT Radar replace PostFX?
No. They solve different problems. PostFX changes the image, while the radar helps with navigation, extracts, quest areas, loot and raid planning.